前言
两个月前偶然间看到telegram团队做了一个网盘叫 仔细看了一眼,和tg团队无任何关系,只是一个开源项目请注意甄别.teldrive
据说是可以无限存储的网盘程序,且可以webdav挂载到本地,于是部署到了服务器上,但当时没有写博客记录,最近空闲了决定补一下博客。
2025/08/25, pull request被openlist合并,请见https://github.com/OpenListTeam/OpenList/pull/1116,现已经可以在openlist上使用了
teldrive介绍
teldrive是一个通过telegram账号登陆后存储到私人账户空间的一个网盘空间,类似于google drive和onedrive
特点如下
- 数据很安全,官方保证存储数据不会丢失
- 可以webdav挂载到本地
- 无限容量
- 上传下载速度取决于你的服务器链接至
telgram服务器的速度,非会员会达到一定量以后限速,非会员会达到一定量以后限速,非会员会达到一定量以后限速!
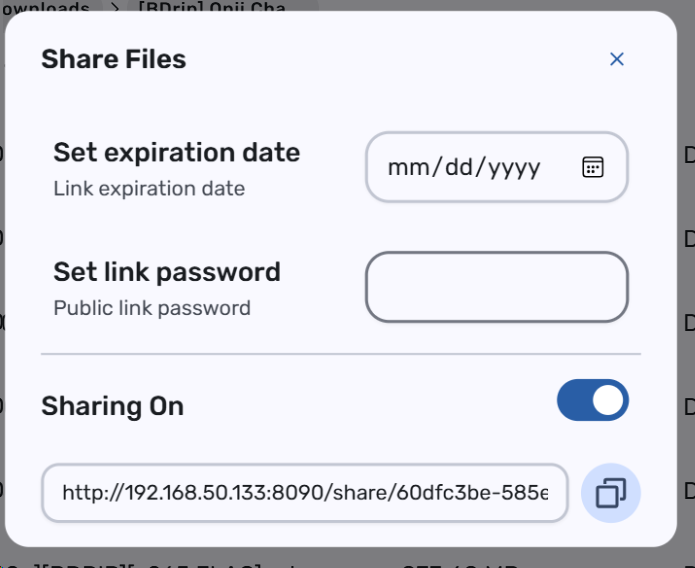
缺点是无法直链共享,共享需要走自己的服务器流量


这里可以看到这个url指向本地ip,需要公网环境才可以共享
部署teldrive
根据teldrive仓库的文档 指引
本文采取docker-compose部署的方式
注意,请尽量选择离服务器dc比较近的vps部署,否则会影响速度
填写配置信息
首先创建并填写config.toml
长这下面的样子
|
|
根据提示填写
数据库地址只支持postgres地址,仓库作者推荐使用supabase的免费postgres数据库,只需要注册账号即可食用,比docker方便很多,且性能很强,我测过读写比我的vps都强
建议使用这种方式部署,本文也只介绍这种
postgres数据库

你需要点这里 supabase账号
注册完以后,创建一个项目

选择离你telegram dc最近的数据库,默认你是dc5(一般tg用电话号码+86注册,就是dc5,如果不是,请自行查询)
dc5在新加坡,我们直接选新加坡

这里写的密码一定要记住,我写的a123456A方便示范,其他不需要改,直接创建
创建项目后,选择这个connect


method选择transaction pooler
关于transaction pooler和direct mode区别介绍,我就简单解释一下
postgres PgBouncer 支持事务池模式
一般情况下,直接连接用于 备份/建库 等admin连接进行的操作
而客户查询一般使用 连接池 防止连接数爆炸,并且支持高并发带来的性能提升
以下为gemini的解释


总之建议使用连接池模式
现在我们得到了数据库uri
|
|
我这里的密码就是 a123456A,请你在复制uri后把你的密码换成自己的
这里
postgres://代表协议对接postgresql数据库- 冒号前则是用户名
- 冒号后面的
xxx则是密码 @后面就是访问终结点,postgres_db,可以看作是ip5432则是端口,这里是默认没有改/teldrive代表访问的数据库是teldrive
其实就是数据库的标准url访问i形式
|
|
顺带一提halo博客用的springboot,链接mysql的话也一个格式
|
|
其他配置
secret 则是可以通过openssl rand -hex 64生成,或者通过官方的vercel app链接一键获取
encryption-key也是从上面官方文档这个网址可以生成的

这里可能会比较疑惑的是app-id和app-hash
其实app-id和app-hash是telegram的api相关密钥(但我看了teldrive的源码,不需要填应该可以,但数据会在作者那边的app,请自行权衡)
根据英文指引即可获得,这里不再赘述

特别提示:如果你部署在国内本地服务器,那你需要在[tg]下添加proxy选项
最终我的配置是这样的
|
|
填写docker-compose
我的docker-compose.yml仅供参考,官方docker-compose文件是不含postgre数据库部署的,若你使用官方的docker-compose请自行配置连接数据库的url即可
在同一文件夹下创建docker-compose.yml
|
|
填入如下内容
|
|
接下来可以开启容器了
|
|
之后可以尝试访问
http://<teldrive部署地址>:8080
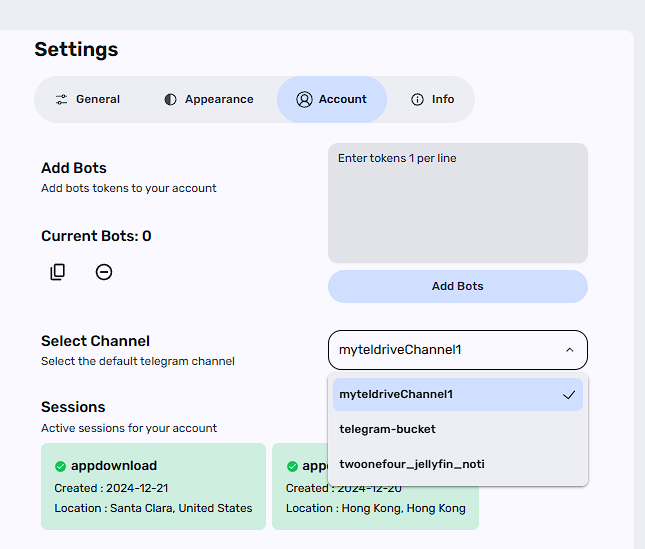
还需要把你的机器人拉入tg频道才能使用,如下图,访问http://<teldrive部署地址>:8080/settings/account。在这里选择一个频道作为存放文件的位置

若你没有机器人,你需要在 @BotFather 处创建几个机器人,推荐4-8个
然后把bot token加到设置里面来
之后就能正常使用辣
使用openlist
这里可以看我维护的openlist文档, 写的很清楚oplist#teldrive
对接rclone使用webdav
rclone是一个开源的用于挂载盘到本地的一个开源软件
github仓库地址
但这里teldrive是不能使用开源的rclone的,坑死我了
teldrive需要使用telegram团队魔改的版本

直接从release下载下来即可使用
下载完以后创建文件配置,位于~/.config/rclone/rclone.conf
|
|
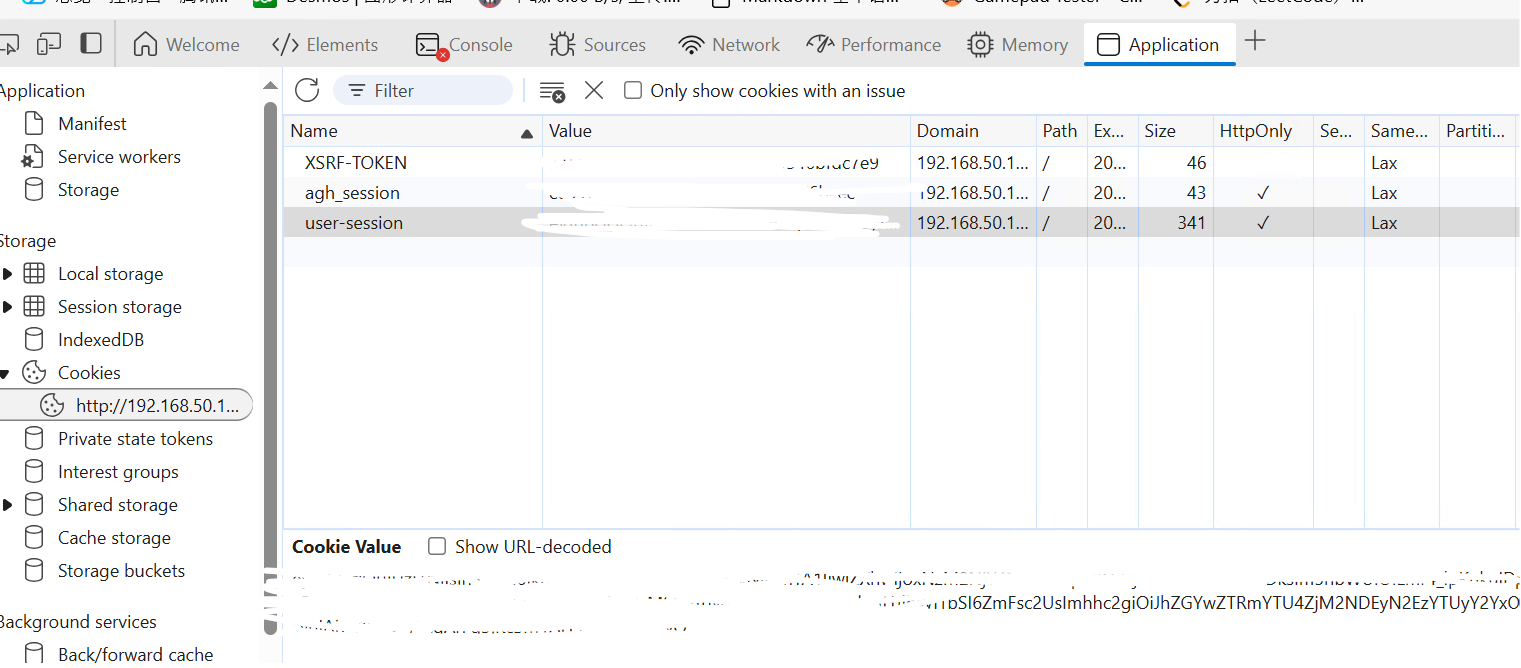
需要动脑筋的是access_token,在teldrive登陆以后,在控制台cookie中获取

复制这个值填上就可以了
其他的根据需要填写
填完以后就可以运行了,我的命令示例如下
|
|
这里我是挂载到/volume3下的
其他参数请看文档rclone文档
自动挂载请参照官方文档自动挂载 rclone-as-unix-mount-helper
我这里给出我的方案,我是使用的systemd
vim /usr/lib/systemd/system/rclone.service
填入以下内容
|
|
接着素质二连即可启动
|
|
之后就能同普通文件夹一样,访问/volume3就是访问远程,使用cp命令,mv命令都可以,看你的脑洞要如何运用了
效果展示
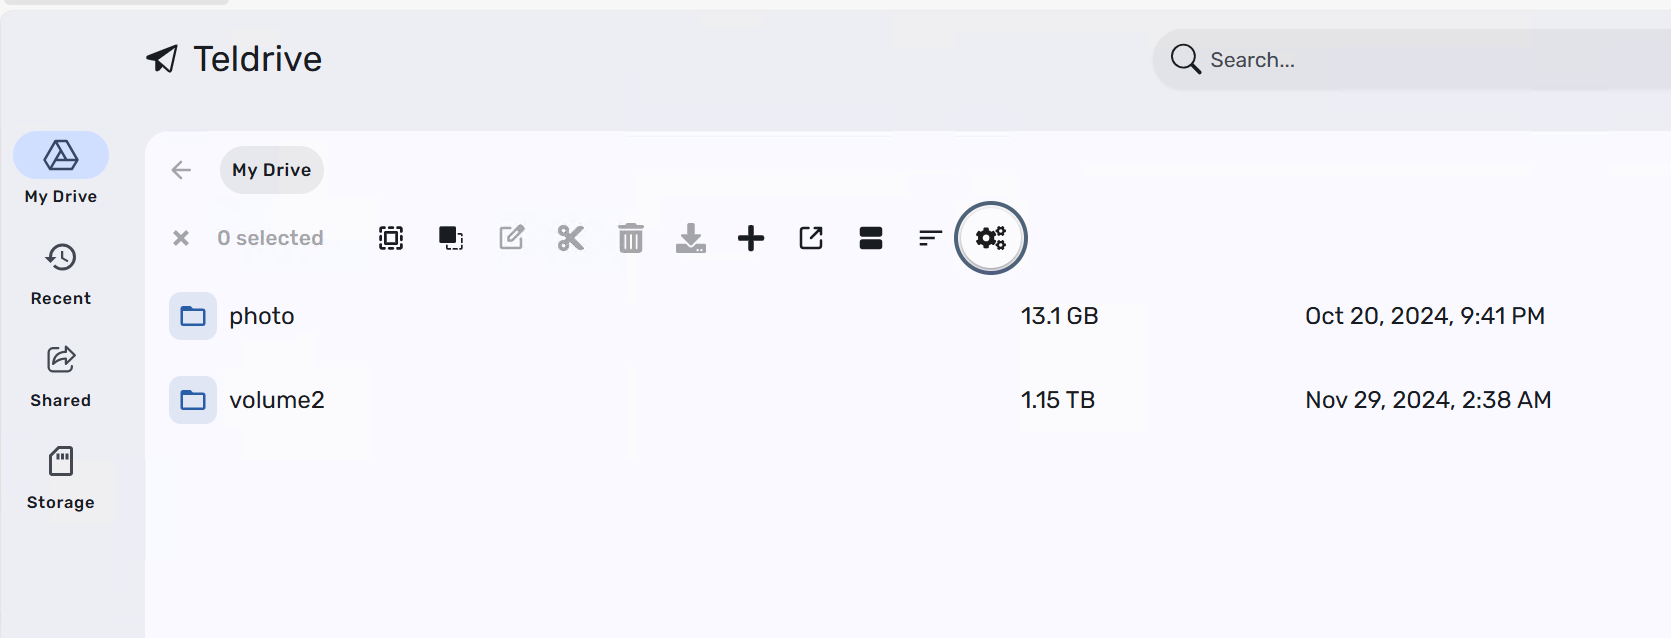
我的nas就是整个备份到了teldrive里,可以看到我已经用了1T空间了, 还用teldrive作为存储搭建了jellyfin私人影院库


至此搭建结束,enjoy
